The Baseline CLI
Deprecation Notice!
The Baseline CLI has been deprecated. Please use the Baseline application moving forward.
The Baseline CLI is a simple, yet powerful little tool to allow you to execute all Baseline commands.
Downloading the Baseline CLI
Head over to our download page to download the latest version of the Baseline CLI. Once you have downloaded the ZIP. Extract it to a convenient location like your Desktop.
Currently we only offer a packaged version of the CLI for MacOS.
Head to the open-source GitHub repository if you want to run the CLI on a different system.
Installation
You can run the Baseline CLI by simply double-clicking on the file. When you do this for the first time, MacOS will show you a warning, similar to the one below:
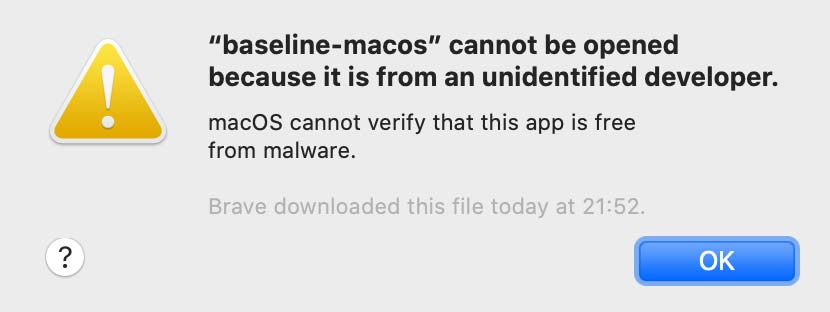
Here you just have to click "Ok" and acknowledge the message. Next, head over to System Preferences and open the Security & Privacy section. You will see a little note at the bottom mentioning "baseline was blocked". Press the "Open Anyway" button to confirm that you'd like to run the Baseline CLI. See the picture below:
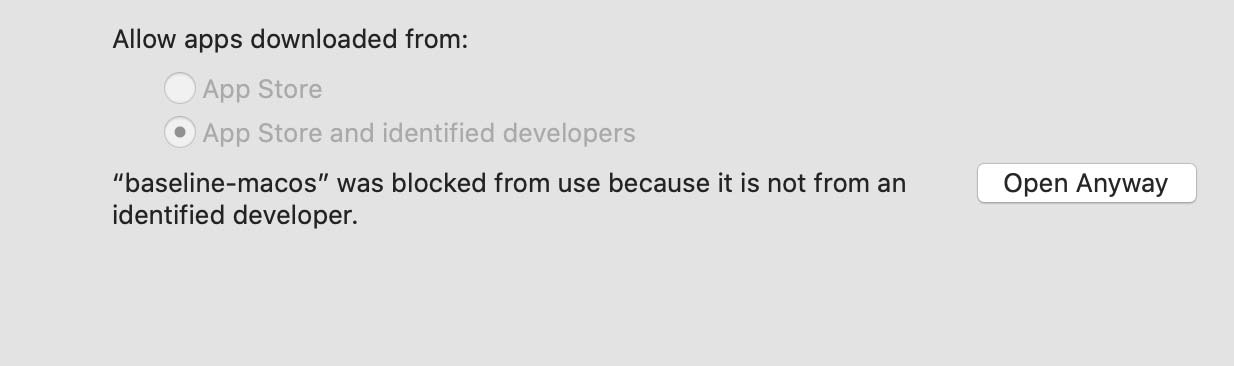
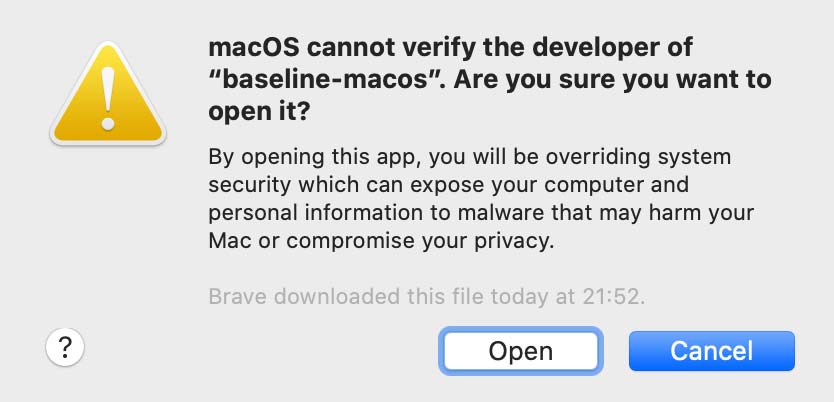
After this, you will get a final confirmation asking whether you want to open the Baseline CLI.
Click "Open" and the CLI will open 🎉
Requesting the access token
When you run the Baseline CLI for the first time, you are asked to provide "credentials". After you have requested access to Baseline, we will reach out to you and provide you with these credentials. Paste the credential into the prompt.

Running the CLI
You can start the CLI by double-clicking on the file or by opening a terminal and then running
./baselineTroubleshooting
Sometimes it can happen that the Baseline CLI will return an error.
If this persists, you can delete all credentials and local settings by running the clean command:
This removes your encrypted credentials. You will need to re-authenticate with all services again.
./baseline clean